Difference between revisions of "Raspberry Pi Mounting Platform and Bracket Pictures"
Jump to navigation
Jump to search
Russ hensel (talk | contribs) |
Russ hensel (talk | contribs) |
||
| Line 32: | Line 32: | ||
[[Image:pp10.JPG|500px]] | [[Image:pp10.JPG|500px]] | ||
[[Image:pp12.JPG|500px]] | [[Image:pp12.JPG|500px]] | ||
| + | |||
| + | = Large Platform No Componets = | ||
| + | This is a large platform with a mounting bracket. It is bad because the normal top mount | ||
| + | will cover the Raspberry Pi pins. Still can be used, Access the pins another way, cut into it | ||
| + | or bottom mount it. For bottom mounts the legs need not bee so long. | ||
| + | |||
| + | |||
| + | |||
| + | [[Image:Pp1.JPG|500px]] | ||
| + | |||
| + | |||
| + | |||
| + | [[Category:Arduino/RaspberryPi]] [[Category:FreeCad]] | ||
Revision as of 13:02, 11 January 2018
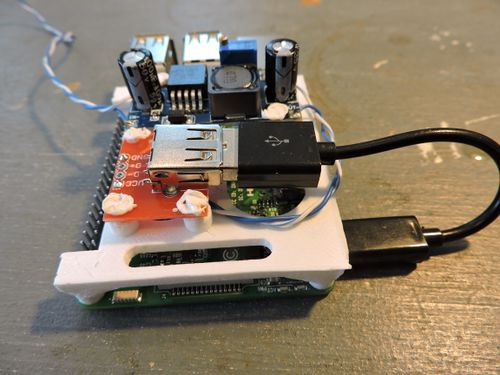
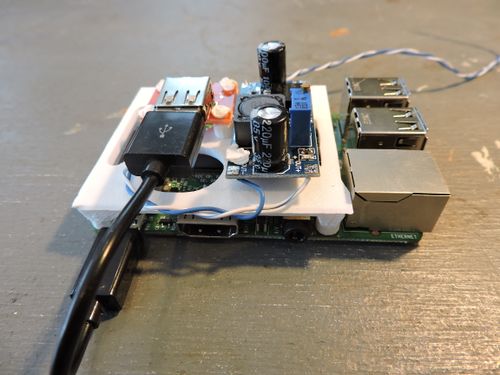
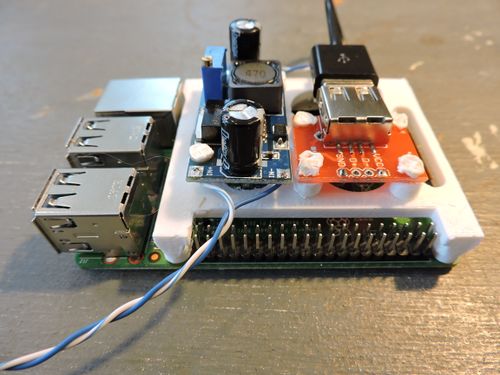
These are actual prints of the mount described in Raspberry Pi Mounting Platform and Bracket
Contents
Small Platform With Voltage Regulator
This is from the side of the Pi with its IO headers
image placeholders
Arduino Over a Pi
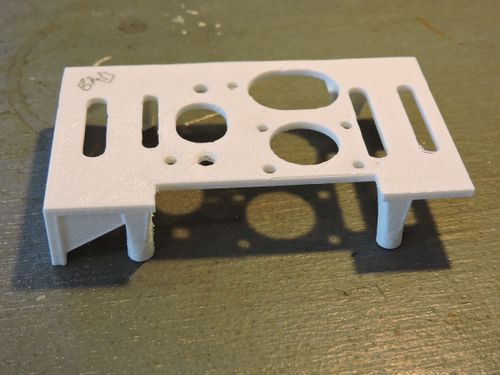
Large Platform No Componets
This is a large platform with a mounting bracket. It is bad because the normal top mount will cover the Raspberry Pi pins. Still can be used, Access the pins another way, cut into it or bottom mount it. For bottom mounts the legs need not bee so long.


